Documentation for COE Clinics Technology using VDI Virtual Desktop
The VDI Virtual Desktop environment provides a fully functional Windows computer with a number of applications vital to COE Clinics services and practices. These virtual computers have Microsoft Office, Zoom, Acrobat PDF Reader, VLC media player, and Web browsers.
Each authorized user has an individual folder (your V:\ drive) where Zoom recordings will be stored by default. The V:\ drive is also where you need to keep any documents you wish to keep for future use. Because the virtual computers are erased and refreshed after you log off from a virtual desktop session, any documents saved outside of the V:\ drive are deleted as part of the recycling of the virtual desktop.
If you have any questions about the virtual desktop service please review the general VDI client installation and support page.
Here are some basic topics on navigation and using the COE Clinic’s Virtual Desktop computers:
Exploring your virtual desktop
Your VDI session is a fully functional Widows desktop computer with a number of Desktop icons (Zoom, VLC, Titanium, Map V drive, Acrobat, and Internet browsers)
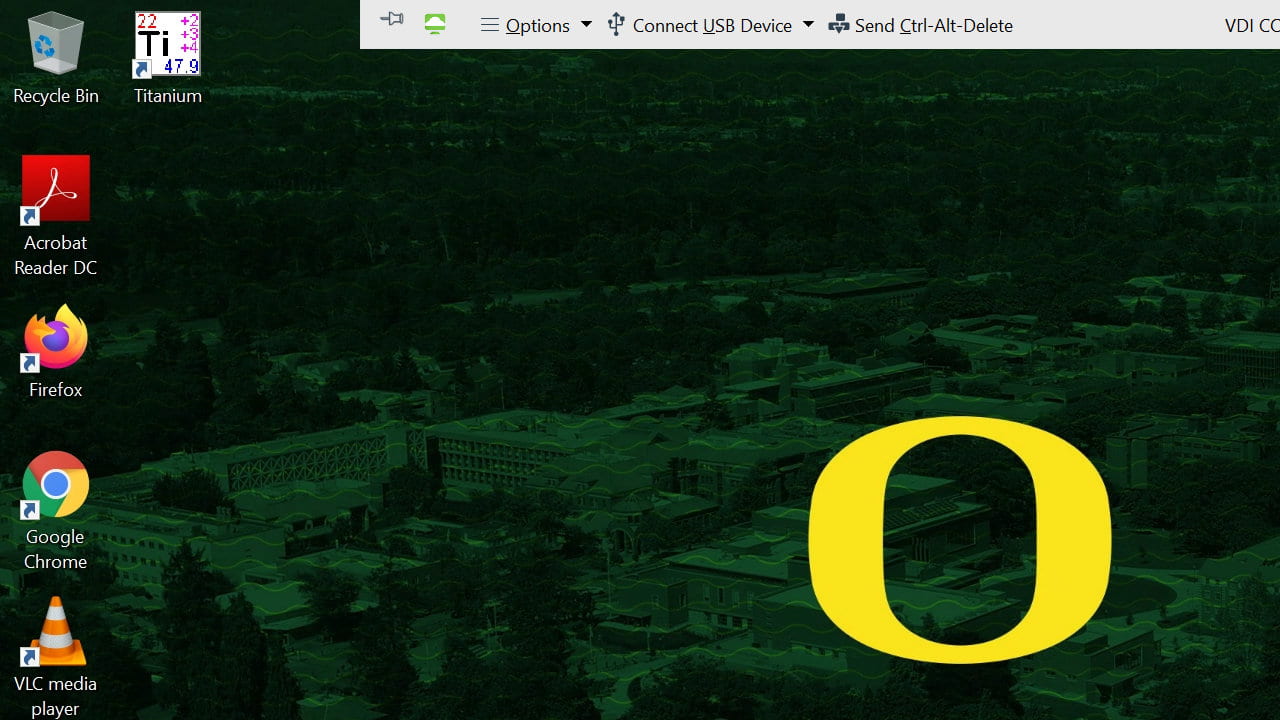 You will see a small bar at the top center presenting a number of commands. Most importantly this will allow to disconnect or log of from the virtual computer you are using.
On your first log in, please check for the existence of your personal “V:\” drive, by clicking on the “map V:\ drive” short cut, then check the File Explorer to verify that your “V:\” drive is present. This is where Zoom recordings are stored at the end of your Zoom sessions.
Remember to give yourself enough time to get everything set before a Zoom session (audio, camera, speakers, and anything you wish to make available via Zoom screen sharing). Be prepared for when your clients have trouble connecting, so make sure you and your client(s) have a way to connect with each other if you experience technical issues.
Starting and recording a Zoom session
Once logged into to Zoom, check your camera, microphone, and speakers.
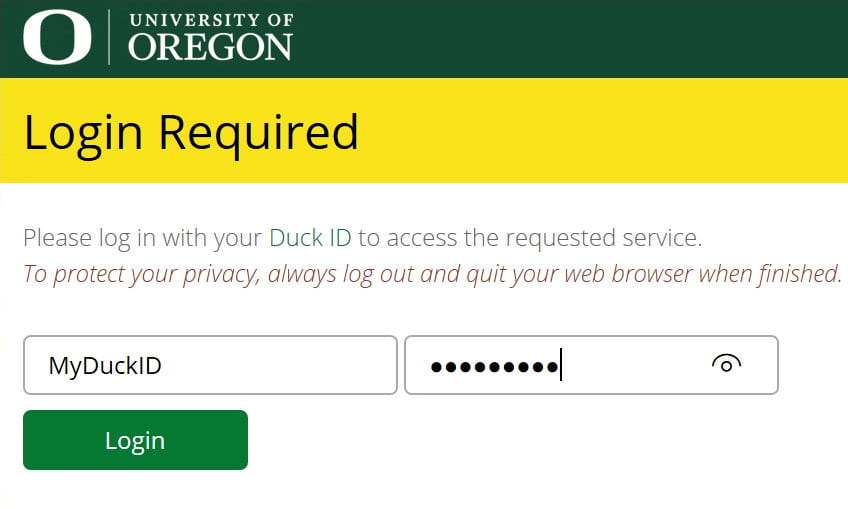
To open Zoom, you will need to use two-factor authentication with a smartphone or a DUO approved token to open Zoom. Once you double click on the Zoom desktop icon, you will be prompted to log on via the UO Single Sign On environment (SSO). When you click on the “Continue” button, you will be directed to a webpage for your Duck ID credentials
 Enter your Duck ID credentials
 Next, you will need to your your DUO app or token to complete the log on process for Zoom.
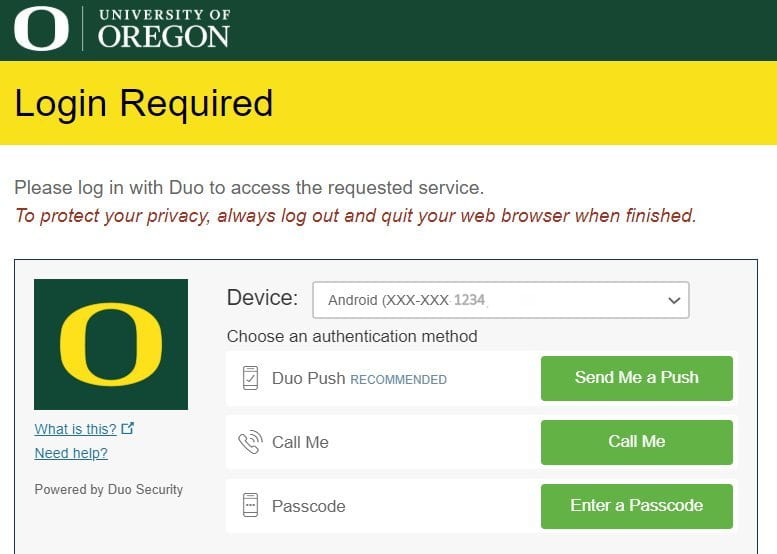
Once your account has been authenticated, your will be prompted to move to the Zoom application.
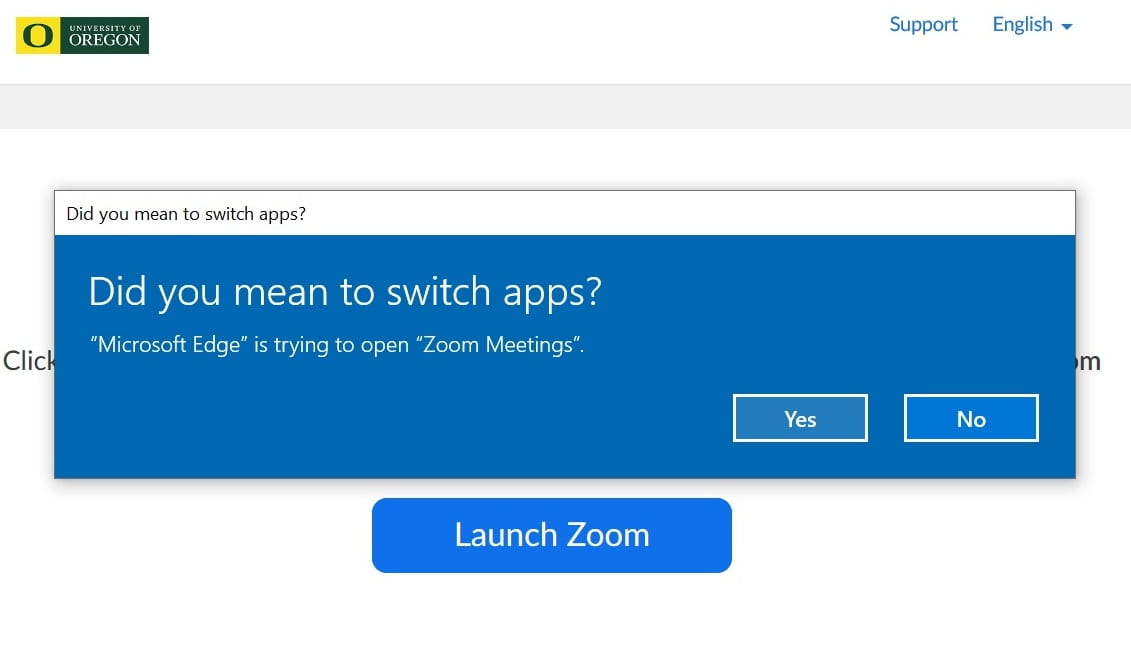 Click on the Yes button. This will open the application with your account.
Go to the Settings Gear in the upper right of the application to test your camera, microphone, and speakers to make sure everything is working as expected.

Your Zoom Sessions can be started by clicking on a specific session link in the Zoom application.
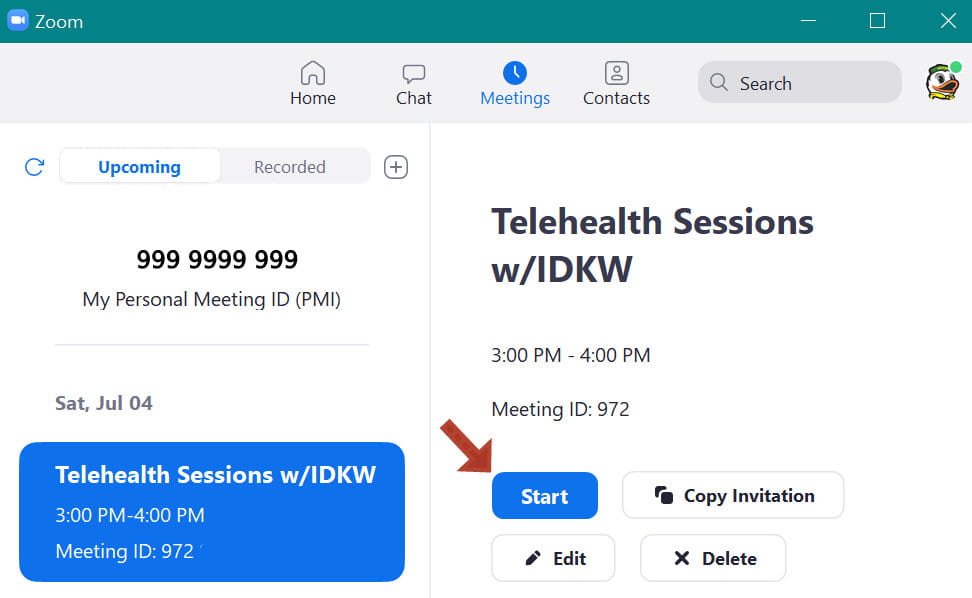
All Zoom sessions have the waiting room function on, so remember to allow your invitees into the session.
If you wish to record the session you will have to click on the Zoom record button (Zoom will announce when a session recording is starting or ending).

Ending a Zoom session
![]()

Once you have closed the Zoom session for all users, Zoom will start the downloading and conversion of the recording to a a set of video and audio files.

You must not log off from the virtual computer session before the Zoom recording has finished downloading and converting. You will see a progress bar indicating the progress of the conversion. Please wait until you the progress bar closed before logging off your virtual computer session.
If you need to start another Zoom session because you have two sessions scheduled back-to-back, you can start a new session while the video from the previous session is converted and saved. The Zoom session and the conversion are two separate processes.
You, may disconnect while the conversion is taking place, since the session will continue running for 60 minutes before automatically logging out the session, but do not log off the virtual com until you are confident that the recording has been converted.
Tips for Zoom
Microsoft Office
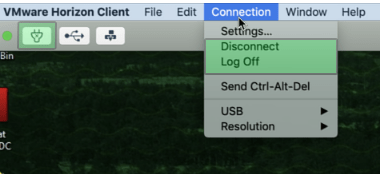
Ending a desktop session: Disconnecting vs. Logging Off

Remember Disconnect just closes your window to the virtual computer and tells it to Log Off in 60 minutes. However, Disconnect and Log Off closes your window to the virtual computer AND terminates your session, logging you off and recycling the virtual computer’s resources, so make sure your documents and recordings are saved in your personal V:\ drive before logging off.
For those using Apple Computers, the Disconnect and Log Off options look a little different. You will see them in the Apple Menu at the top of your computer screen. If you click on Connections you can choose to either Disconnect” or “Log Off. Similarly, you can click on the small electrical plug icon on the left side of the Apple Menu to Log Off.