
This document describes the steps for adding a network location to your computer using Windows 10. A network location is a path to a folder on a shared network drive. It is especially useful if you need to connect to a specific folder on a network drive or server on a regular basis.
1) To map a network location in Windows 10, open File Explorer from the taskbar or the Start menu, or press the Windows logo key + E.
2) In the left column of the newly opened Explorer window, click This PC.
![]()
3) At the top of the Explorer window, click Computer, then click the Add a network location icon.
![]()
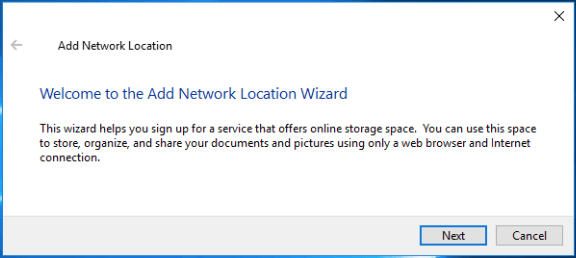
An Add Network Location Wizard window will appear. Click the Next button.
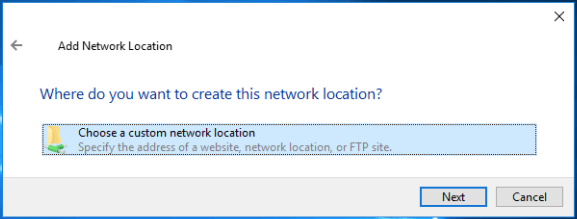
4) You will be asked to choose a custom network location. Click the Choose a custom network location item, then click the Next button.
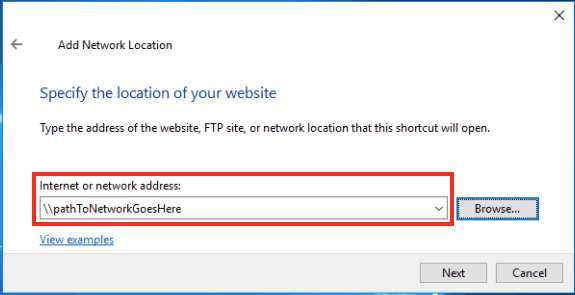
5) When the Specify the location of your website window appears, you will need to enter the path to the network address. This may be something like \\files\coe-cc-share\coe, but the network address needs to be accessible using your UO Duck ID credentials. Once the address is entered, click the Next button.
Note: If you are connecting to the COE Share from a personal, non university-owned computer, you should use the following file path:
\\files.uoregon.edu\coe-cc-share\coe
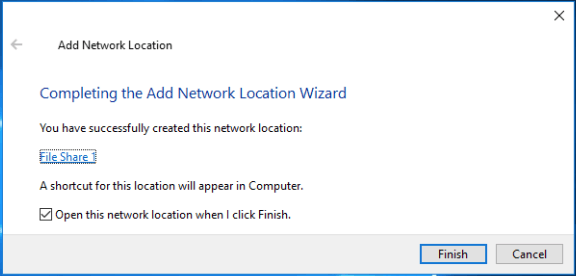
6) You will now be asked to type a name for the network location. This name can be anything you like, and is the visible name that will be displayed for the location. When you have entered a name, click the Next button to continue.

Click the Finish button to complete the addition of a network location.
The network location should now appear in Windows Explorer windows, and will be available whenever you are logged in on your computer.