
The following instructions are for Windows users who need to add a COE printer to their computer, or who need to remove a printer that is having connection issues. Note that these steps assume you have logged in to your UO-owned computer using your Duck ID and password.
1) In the lower left corner of your Windows Explorer screen, go to the search field (look for the magnifying glass icon) and type:
printers and scanners
![]()
As you type, you will see Windows provide a “Best Match“.
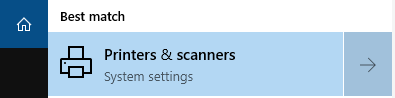
You can click “Printers & Scanners” when it appears, or hit the ENTER key.
You should see a window Showing all printers currently connected or installed on your computer.
2) To remove a printer click it, then click the “Remove Device” button.
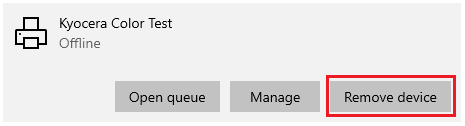
Confirm that you want to remove the printer you selected. Once confirmed, the printer icon should disappear from the list. Repeat step 2 above to remove any desired printers.

Next, you will add or re-add the printers you want.
3) Open a new Windows Explorer window by hitting the Windows Key then the letter E. In the navigation bar at the top of the window, type:
\\coeprint
Then hit the ENTER key. This will open a connection to the print server. A list of printers should appear.
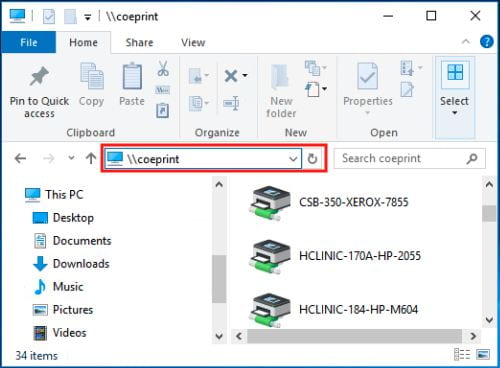
4) Click the printer you want to add from the list to select it, then Right-Click the printer’s icon.

5) Choose Open. You may see a message or progress bar that the printer’s driver is downloading. Alternatively, you may simply Double-Click the printer you wish to add.
6) Repeat step 4 above, if necessary, until you have re-added all printers you need to access.