
General installation of the Virtual Desktop “Horizon” client for COE Clinics
In order to connect to the COE-Clinics virtual computers, you will need the VMware Horizon Client for Windows or for macOS (iOS, Android or ChomeOS devices are not supported).
To find the proper Horizon Client you can start at vdi.uoregon.edu and click the Download link at the bottom of the page and identify the proper client for your computer (Windows 64-bit or MacOS). You can also go directly to these links for to download the Horizon Clients:
Apple Computer instructionsWindows Computers
For Windows computers, once you download the client, install it and run it to configure a new connection. If you cannot install the VMware Horizon Client you may need to disable or suspend your computer’s anti-virus software to allow installation.
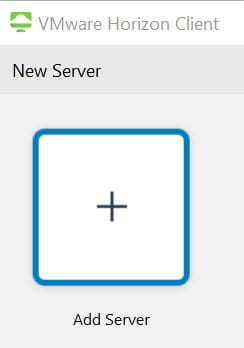
Once the Horizon client opens, click on Add Server.
Enter the hostname for the connection server: vdi.uoregon.edu
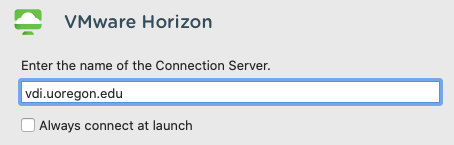
Then click the Connect Button
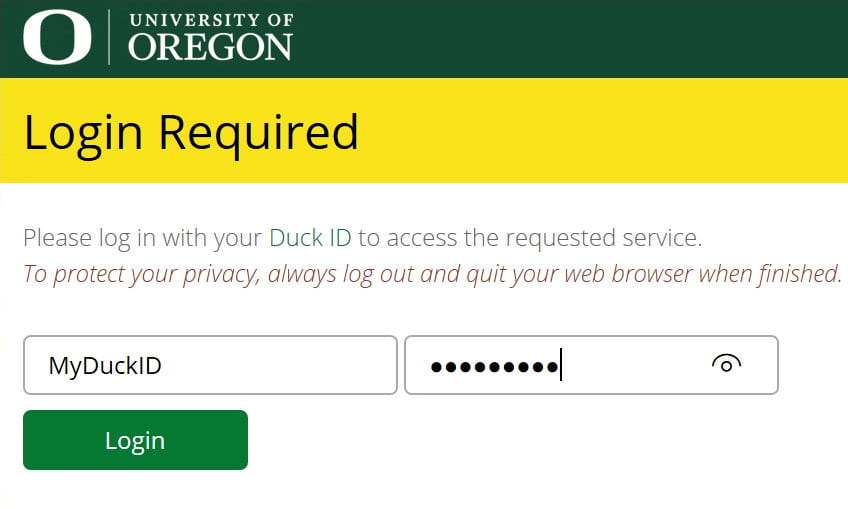
The server will prompt you to log in with your Duck ID
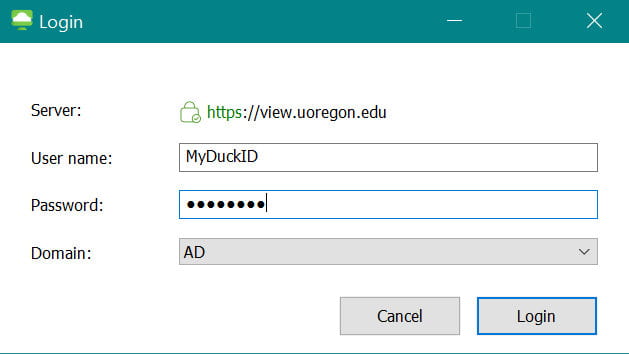
Your Duck ID is the portion of your @uoregon.edu email address before the @ sign.
Once you have entered your credentials, click the Login button.
You will see a window containing the connection button to VDI COE Clinics.

Double-click on the VDI COE Clinics button.
This should connect you and log you in to a Widows computer with a number of Desktop icons (Zoom, VLC, Titanium, Map V drive, Acrobat, and browsers)
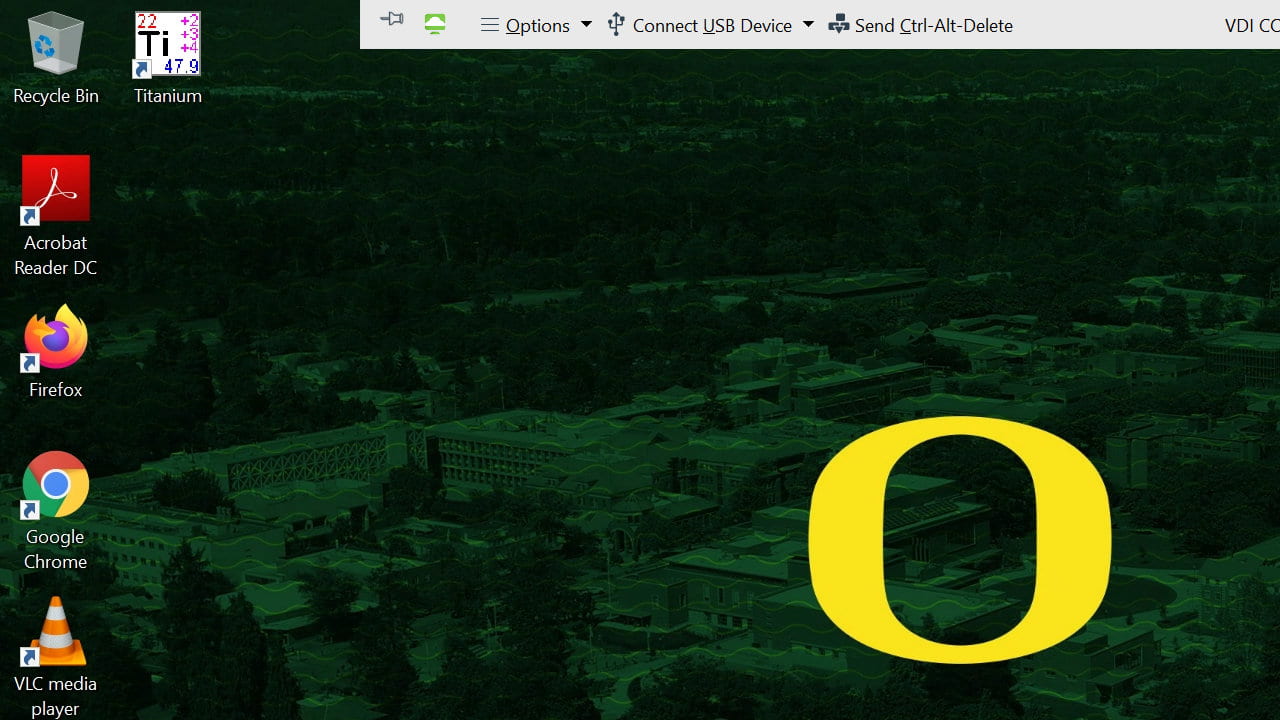
For Windows users, you will see a small bar at the top center presenting a number of commands. Most importantly this will allow to disconnect or log of from the virtual computer you are using.
On your first log in, please explore the computer. Check for the existence of your personal V:\ drive, by clicking on the map V:\ drive shortcut, then check the File Explorer to verify that your V:\ drive is present under This PC. Your Zoom recordings are stored there, at the end of your Zoom sessions.
Remember to give yourself enough time to get everything set before a Zoom session. You will have to log in to Zoom, check your camera, microphone, and speakers. Your clients may have trouble connecting, so make sure you and your client(s) have a way to connect if you experience technical issues.
Opening and Recording a Zoom Telehealth Session
Once you double click on the Zoom desktop icon, you will be prompted to log on via the UO Single Sign On environment (SSO). When you click on the Continue button, you will be directed to a webpage for your Duck ID credentials

Enter your Duck ID credentials
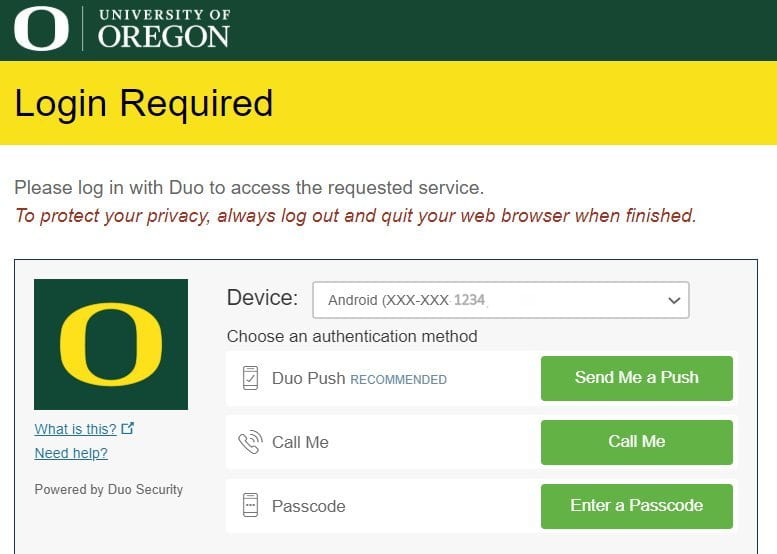
Next, you will need to start your DUO app or token to complete the log on process for Zoom.
Once your account has been authenticated, you will be prompted to move to the Zoom application.
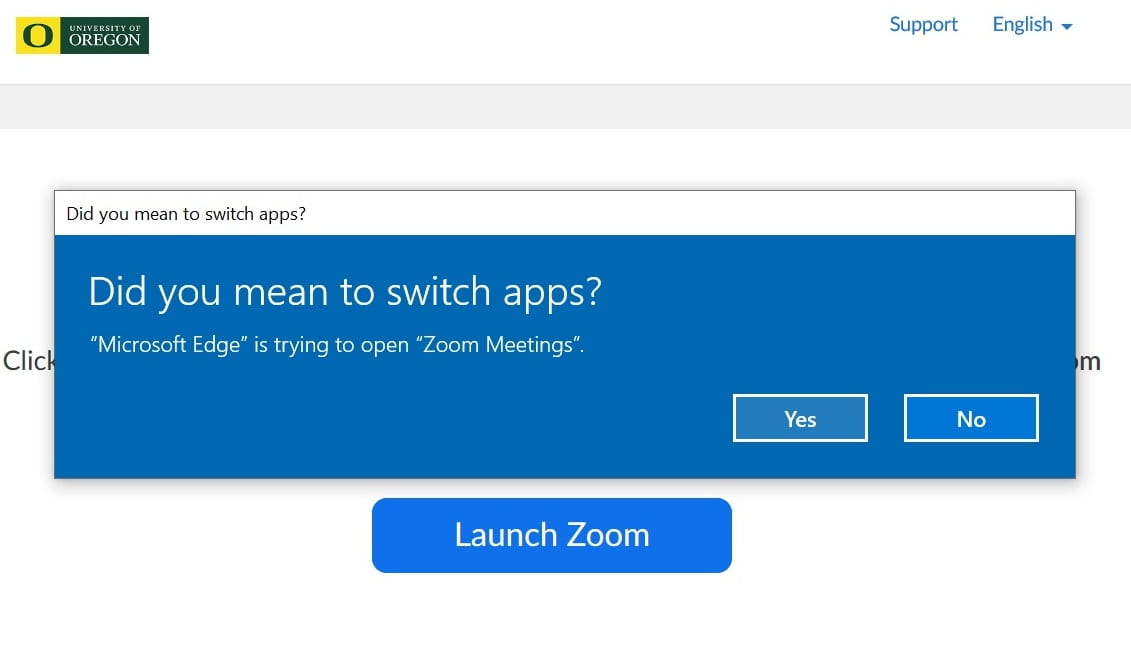
Click on the Yes button. This will open the application with your account.
Go to the “Settings Gear” in the upper right of the application to test your camera, microphone, and speakers to make sure everything is working as expected.

Your Zoom Sessions can be started by clicking on a specific session link in the Zoom application.
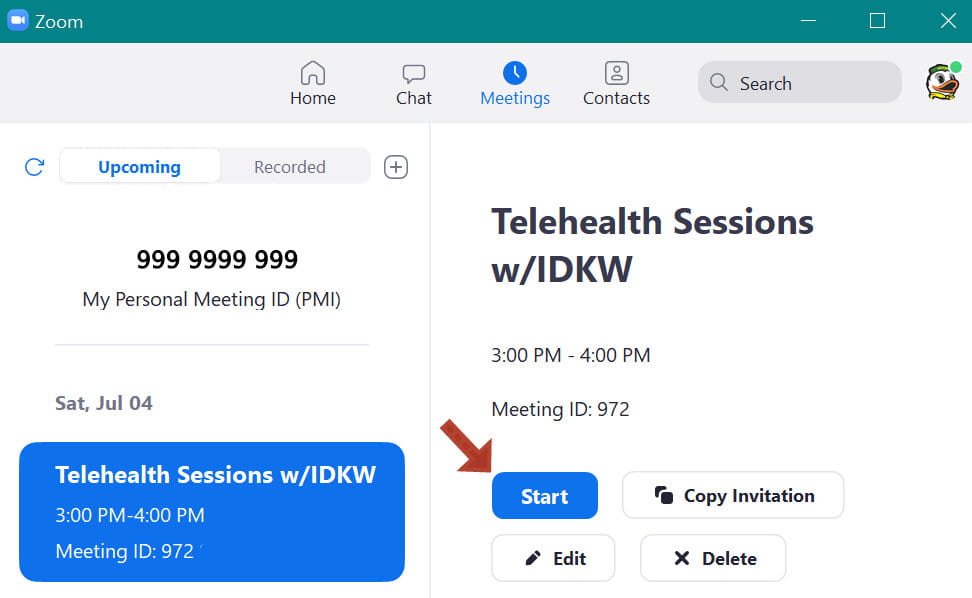
All Zoom sessions have the waiting room function turned on, so remember to check for any invitees in the waiting room and allow them into the session when you are ready to start.
If you wish to record the session you will have to click on the Zoom “record” button (Zoom will announce when a session recording is starting or ending).

Once you have closed the Zoom session for all users, Zoom will start the downloading and converting the recording as a set of video and audio files.

You must not log off from the virtual computer session before the Zoom recording has finished downloading. You will see a progress bar indicating the conversion process. Please wait until you the progress bar closes before logging off.
Please note that you can start a new session while the video from the previous session is converted and saved. The Zoom session and the conversion of the video recording are two independent processes.
You may “disconnect” while the video recording conversion is taking place. Your virtual computer session will continue running for 60 minutes after you disconnect. Please be aware that disconnecting and Iogging off are different. If your recording is being processed you can disconnect, but do not log off.
Closing out your session
When you have completed your session and you have saved all your recordings and work to the “V:\” drive, you can log off from the virtual computer by going to options at the top of the screen and choose “Disconnect and Log Off“.

If you hit “Disconnect,” that is OK, since the virtual computer will log out of the session automatically after 60 minutes.
macOS Computers
Installing the VMWare Horizon Client Software for the First Time
Once the VMWare Horizon Client software installer is downloaded, click on it to open the .dmg file. It will open a windows where you drag the VMware Horizon icon onto your applications folder. Once the VMware Horizon client installs you can open it from your Applications folder. Please note that the first time you run the VMWare Horizon Client software you may be prompted to change security settings to allow the Horizon client to run on your system. These settings only need to be made once.
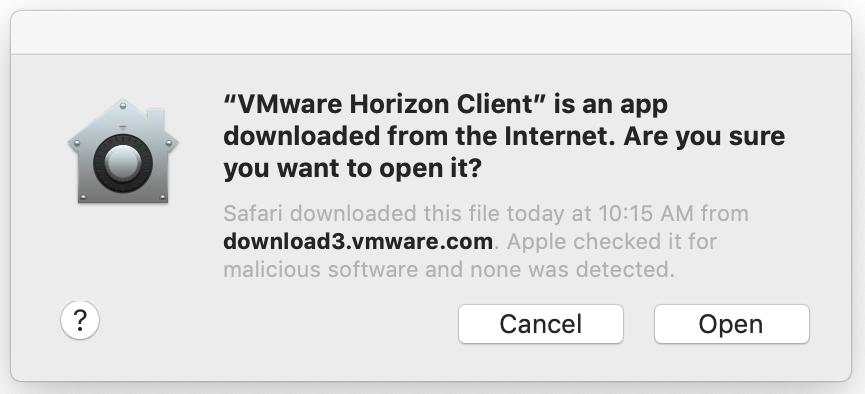
If you see the message below, click the”Open button.
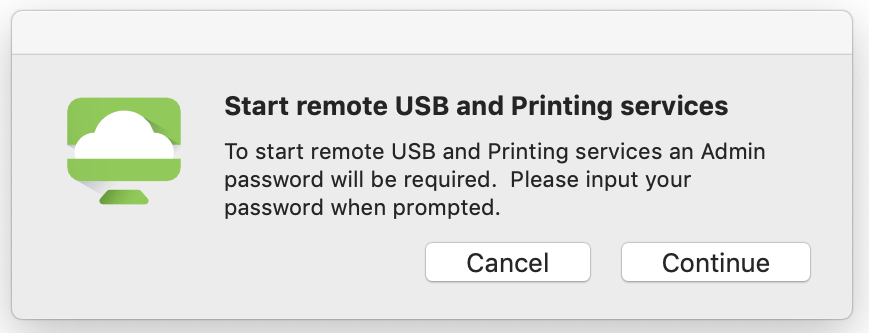
The VMWare Horizon Client software may ask you to Start remote USB and Printing services. Click the Continue button.
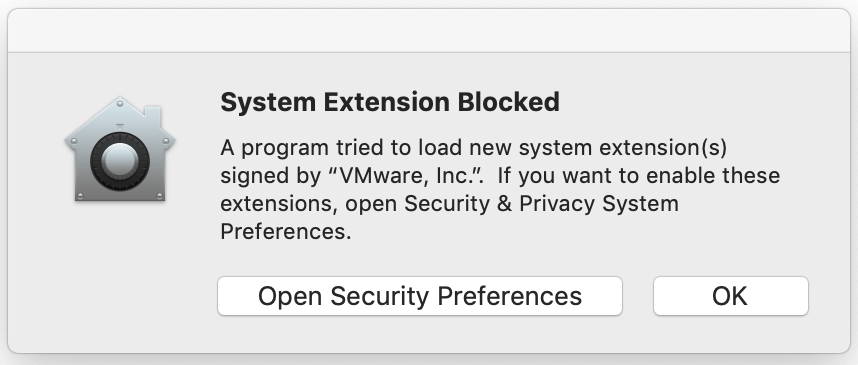
If you are on a newer version of macOS the security settings for the VMWare Horizon Client software will need to be set to allow access to your system. If you see the message below, click the Open Security Preferences button.
The “Security and Privacy” window will open. Near the bottom of the window, click the Allow button to allow the VMWare Horizon Client software to run.
![]()
If you see a “System Extension Warning” window, click the OK button.

The VMWare Horizon Client software applications should now run.
Connecting to a New Server (Existing Users)
If you are an existing user and you are having difficulty connecting to vdi.uoregon.edu instead of view.uoregon.edu, please follow these instructions:
Connecting to the new Clinic VDI
Signing In to the VMWare Horizon Client Software on macOS
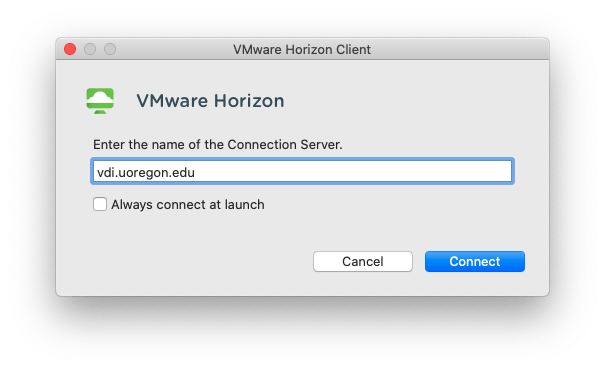
To configure the host, enter vdi.uoregon.edu as the address, then click the Connect button.
You will be prompted to enter your UO Duck ID and password. Your Duck ID is the first part of your UO email address, before the ‘@’ symbol.

End users can recognize the 2 different virtual computers by the desktop background images. The COE Clinic virtual computer has a green aerial shot of the UO campus; the “Open lab” virtual computer has photo of ducks and a lake. There are two ways of changing your Apple VMware Horizon settings to fix this issue:
- Uncheck the autoconnect checkbox for all VMs
- Uncheck the autoconnect checkbox for “open Lab” and then check the autconnect checkbox for the “VDI COE Clinics” VM.
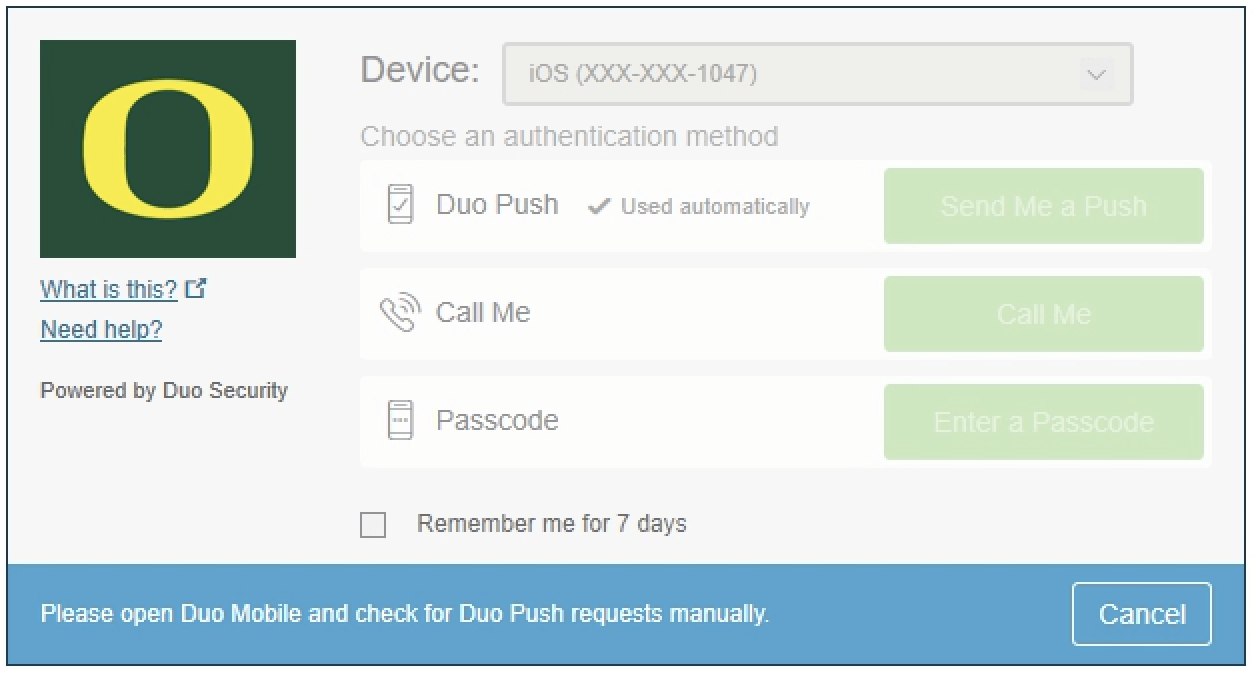
You may also be prompted to sign in using two-factor (two-step) authentication.
You should see a number of connection icons, including one named VDI COE Clinics. Double-click it.
![]()
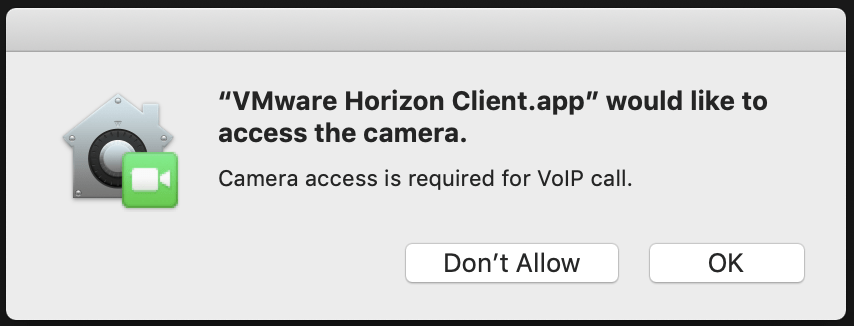
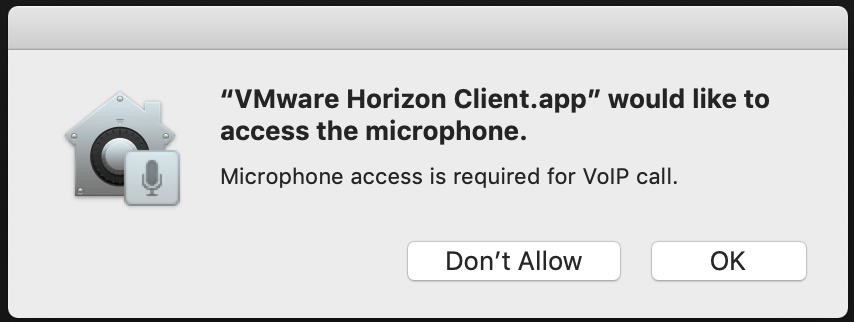
When you connect to a VDI session for the first time you will need to give your connected camera and microphone permission to transmit data through the VMWare Horizon Client application. Click the OK button for the camera and microphone. You should only need to do this once.
You should then be connected to a full Widows desktop computer with a number of Desktop icons (Zoom, VLC, Titanium, Map V drive, Acrobat, and browsers)
Your “app bar” for the VMware Horizon Client at the top of your Apple computer’s screen hosts a number of commands. Most importantly you will want to use it to disconnect or log off from the virtual computer you are using.
On your first log in, please explore the computer. Check for the existence of your personal V:\ drive, by clicking on the map V:\ drive shortcut, then check the File Explorer to verify that your V:\ drive is present. This is where Zoom recordings are stored at the end of your Zoom sessions.
Remember to give yourself enough time to get everything set before a Zoom session. You will have to log in to Zoom, check your camera, microphone, and speakers. Your clients may have trouble connecting, so make sure you and your client(s) have a way to connect if you experience technical issues.
Opening and Recording a Zoom Telehealth Session
To open Zoom, you will need to use two-factor authentication with a smartphone or a DUO approved token to open Zoom.
Once you double click on the Zoom desktop icon, you will be prompted to log on via the UO Single Sign On environment (SSO). When you click on the Continue“button, you will be directed to a webpage for your Duck ID credentials
Enter your Duck ID credentials
Next, you will need to start your DUO app or token to complete the log on process for Zoom.
Once your account has been authenticated, you will be prompted to move to the Zoom application.
Click on the Yes button. This will open the application with your account.
Go to the Settings Gear in the upper right of the application to test your camera, microphone, and speakers to make sure everything is working as expected.
Your Zoom Sessions can be started by clicking on a specific session link in the Zoom application.
All Zoom sessions have the waiting room function on, so remember to allow your invitees into the session.
If you wish to record the session you will have to click on the Zoom “record” button (Zoom will announce when a session recording is starting or ending).
Once you have closed the Zoom session for all users, Zoom will start the downloading and converting the recording as a set of video and audio files.
You must not log off from the virtual computer session before the Zoom recording has finished downloading. You will see a progress bar indicating. Please wait until you the progress bar closes before logging off.
If you need to start another Zoom session because you have two sessions scheduled back-to-back, you can start a new session while the video from the previous session is being converted and saved. The Zoom session and the conversion are two independent processes.
You, may disconnect while the conversion is taking place, since the session will continue running for an additional 60 minutes before automatically logging out the session, but do not log off while the recoding is downloading.
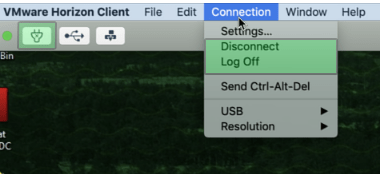
When you have completed your session and you have saved all your work to the V:\ drive, you can log off from the virtual computer by going to options at the top of the screen and choose Disconnect and Log Off.
For those using Apple Computers, the Disconnect and Log Off options look a little different. You will see them in the Apple Menu at the top of your computer screen. If you click on Connections you can choose to either Disconnect or Log Off. Similarly, you can click on the small electrical plug icon on the left side of the Apple Menu to Log Off.