
The following steps describe how to add a printer to a COE Windows computer through the print server. Note that these steps will only work if your computer is on the UO COE domain, and you have logged into your computer using your Duck ID (i.e., the first part of your email address before the ‘@’) and password.
1.) In Windows Explorer, hit Windows Key + E to open a new Explorer window.
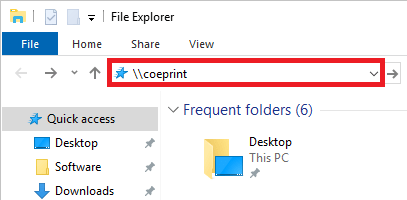
Type \\coeprint, then hit the Enter key.
You should see a window appear with icons and names of available printers. Printers in the COE are named according to the building and room where they are located.
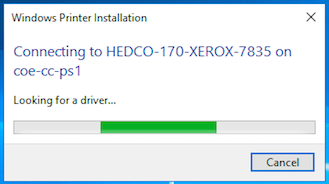
2. ) Locate the icon representing the printer you need to connect to, then double-click the printer to add the driver for that printer to your computer.

The installation of the driver may take several minutes, but a progress bar will appear.
Once the printer is added and the driver is installed, you are ready to print. When you choose to print a document you will be prompted to enter your Duck ID, followed by the 4-digit print code assigned to you by your department or supervisor.
In some cases you may not see the above window, but you will be prompted to enter your UO Duck ID and email password. If this occurs, make sure to prepend ad\ to your Duck ID when entering your user name. For example, if your Duck ID is “SomeDuck”, you would enter it as follows:
ad\SomeDuck
You should now be able to print. If you are still having printing issues, please contact COE IT at https://coehelp.uoregon.edu.
3.) The following is optional, but describes how to make a selected printer from step 2 above the default printer.

From the Printer menu choose Set As Default Printer. That printing device will now be the default device on your computer.