
1) You will need to determine the IP address of the printer you need to add. A list of COE printers by building, location, name, and IP address can be found here. Once you have determined the IP address from the listing, copy it.
2) The appropriate Xerox print driver for macOS should already be installed on your computer. If your computer was not configured by COEIT you may need to contact COEIT to install the driver. A list of Xerox printer drivers for macOS is available here.
Note: Once you are on the Xerox printer driver download page you will need to choose the version of macOS that you are currently running from the pull-down menu, near the top of the page. After you have chosen the version of macOS, click the “Mac OS X Print Driver Installer Package” link to go to the download page for the printer driver.
3) Go to the Apple menu, then choose System Preferences… and click the Printers & Scanners icon.
![]()
4) Click the plus icon near the bottom left side of the printer list. ![]()
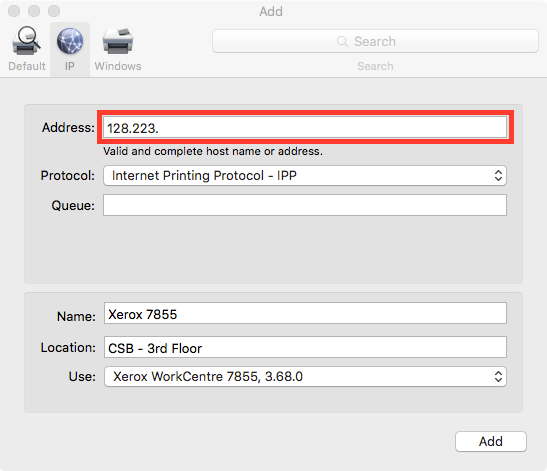
5) Enter the IP address of the printer in the Address field. If you copied the address in step 1 you should be able to paste it in the address field. Otherwise, the IP address of the printer should be printed on the side of the device, or you can go to this online page to see a list of all available printers in the COE.
Fill out the Name and Location fields to make it easier for you to identify the printer in the list. The Use field should show Xerox, followed by a model number. If you do not see Xerox in the Use field, the driver is not installed, and you will need to contact COEIT.
Selecting the Correct Printer Software to Use
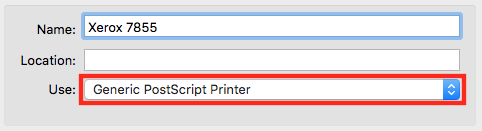
Note: You will only need to go through the steps in this section if the Use option does not show a Xerox model number. For example, it might show Generic PostScript Printer, which is not what you want.
![]()
To fix this, click the Use menu.
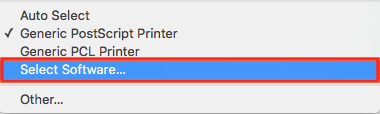
Choose Select Software… from the list.
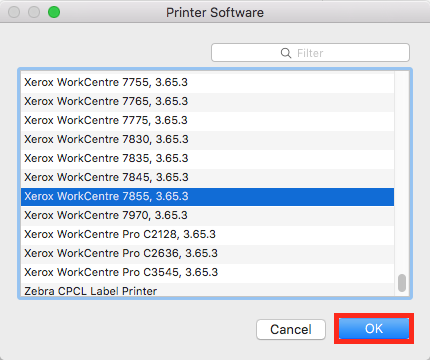
Scroll through the list, or type the Xerox model number in the search field. The exact Xerox model should appear in the list. Once selected, click the OK button.
Creating a Printer Preset
If you have been able to proceed to this point the printer driver is installed, but it needs to be configured with a print code number through Microsoft Word, and the settings saved as a preset. Follow the steps below to do this, and make sure you have your printing code handy. If you have more than one print code, you may want to create multiple printer presets, with a name that makes it easy for you to identify each.
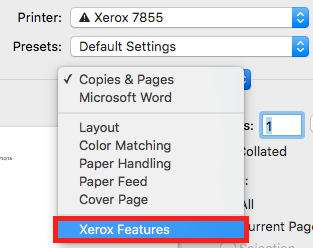
6) Launch Microsoft Word, create a new document, then choose File -> Print. Refer to the screen images below.
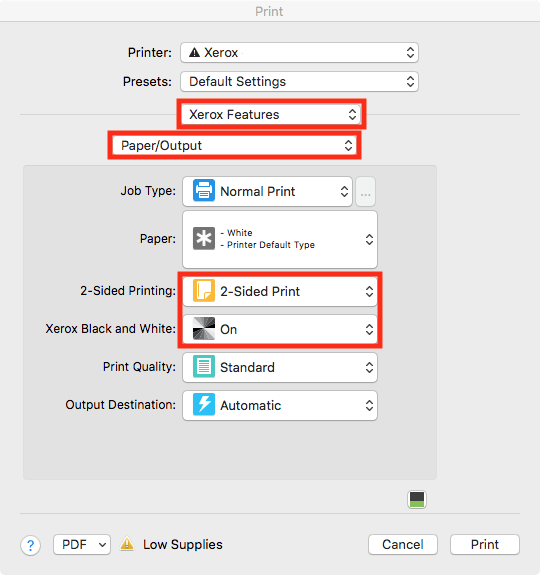
Select the desired Xerox device in the Printer pull-down menu, then choose Xerox Features, and the Paper/Output option.
Set 2-Sided Printing to 2-Sided Print and Xerox Black and White to On.
Note that you can override these settings when you print, but these will become the default print settings.
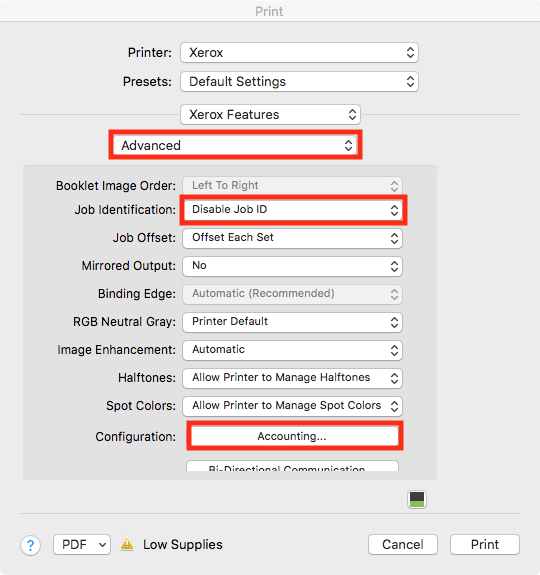
7) From the pull-down menu below the Xerox Features menu, choose Advanced. Set the Job Identification field to Disable Job ID.
Next to the Configuration option, click the Accounting… button.
8) In the Accounting window that appears, set:
Accounting System to Xerox Standard Accounting
Accounting Prompt to Always Prompt
Enter your User ID for printing (usually 4 digits) in the Default User ID field. You do not need to enter the ID into the Default Account ID field, but if you enter a number that will be the default value.
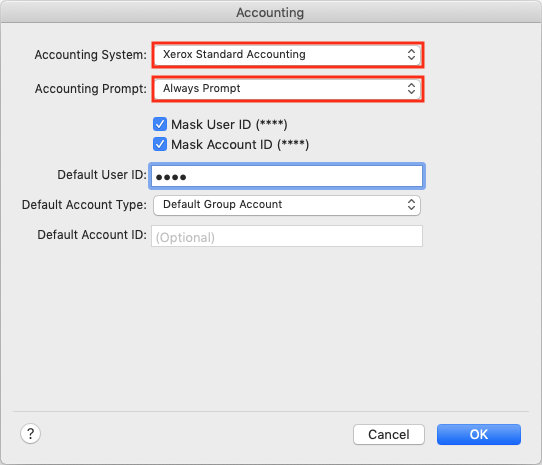
Click the OK button when finished.
9) Under Xerox Features in Color Options, set the default to Black and White.

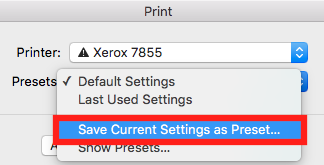
10) In the Print window, under Presets, choose Save Current Settings as Preset…
11) Give the preset a name that makes it easy to identify, then click the OK button.
The preset contains all of the default printer settings, as well as the User ID code. Saving this information as a preset makes printing much simpler, as you will not need to enter a code each time you print.

With the preset saved, you can choose the named preset for any other programs that need to print. For example, with Apple Preview. You can now close the print window and you should be able to print to the device from any program installed on your computer.
