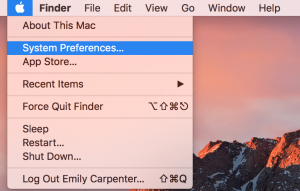
Open System Preferences.
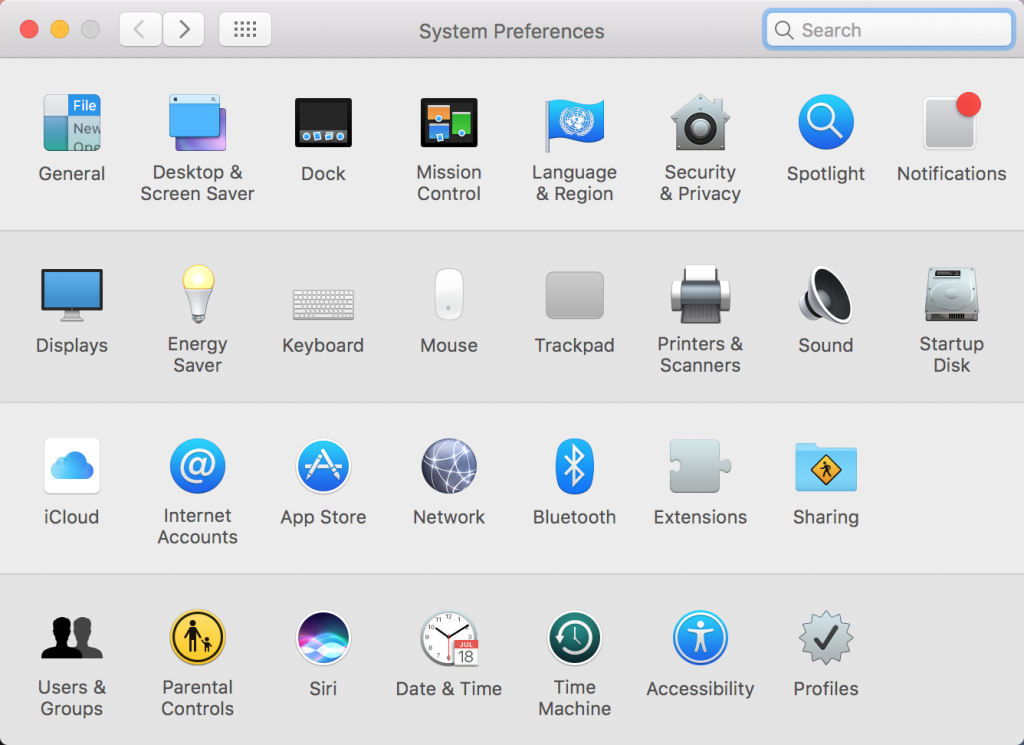
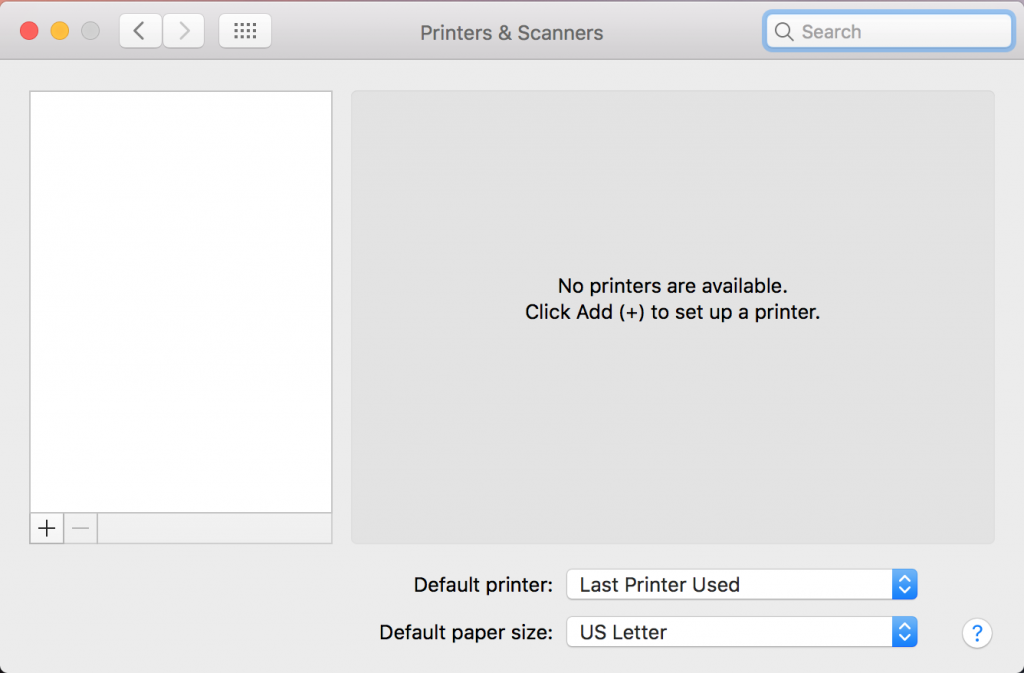
Select “Print and Fax” or “Printers & Scanners.”
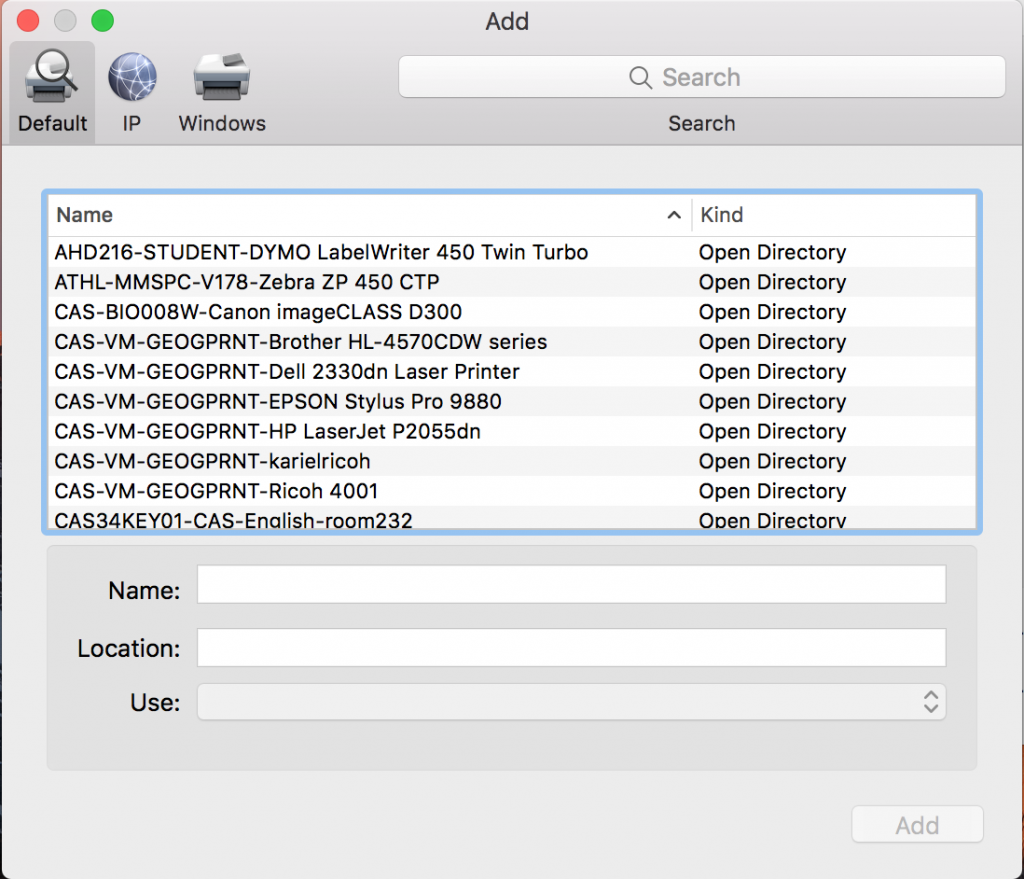
Click on the +.
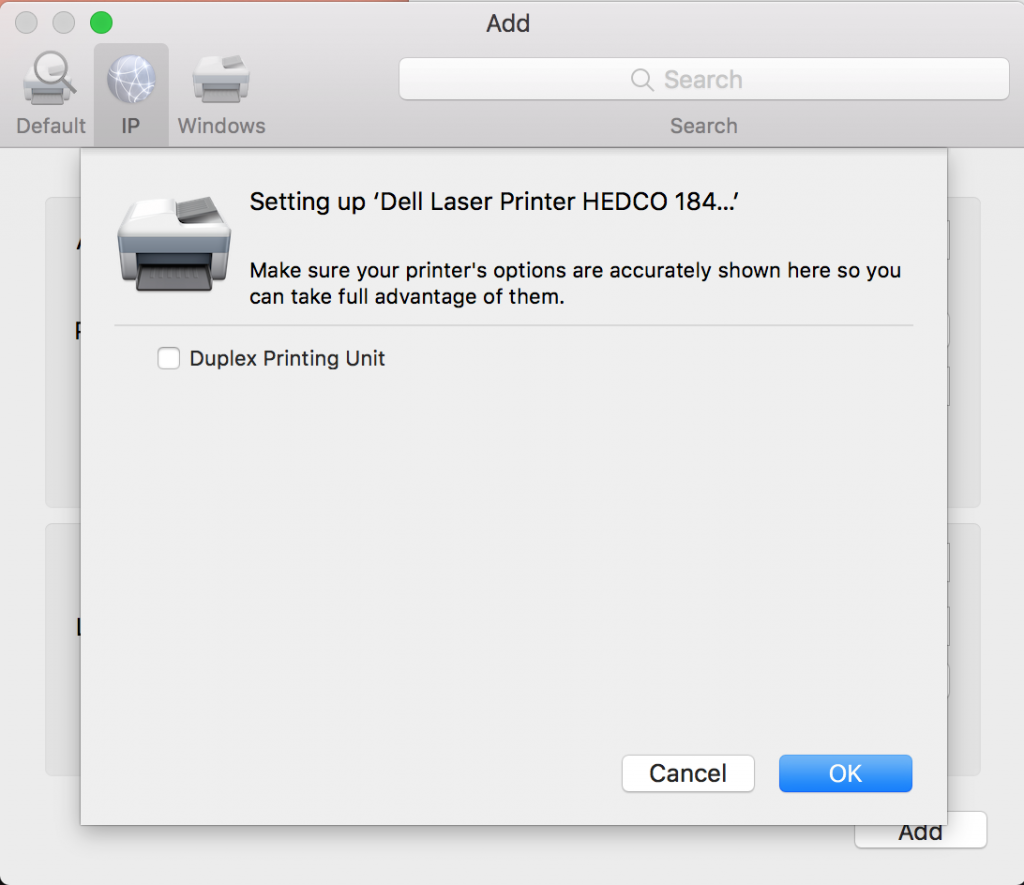
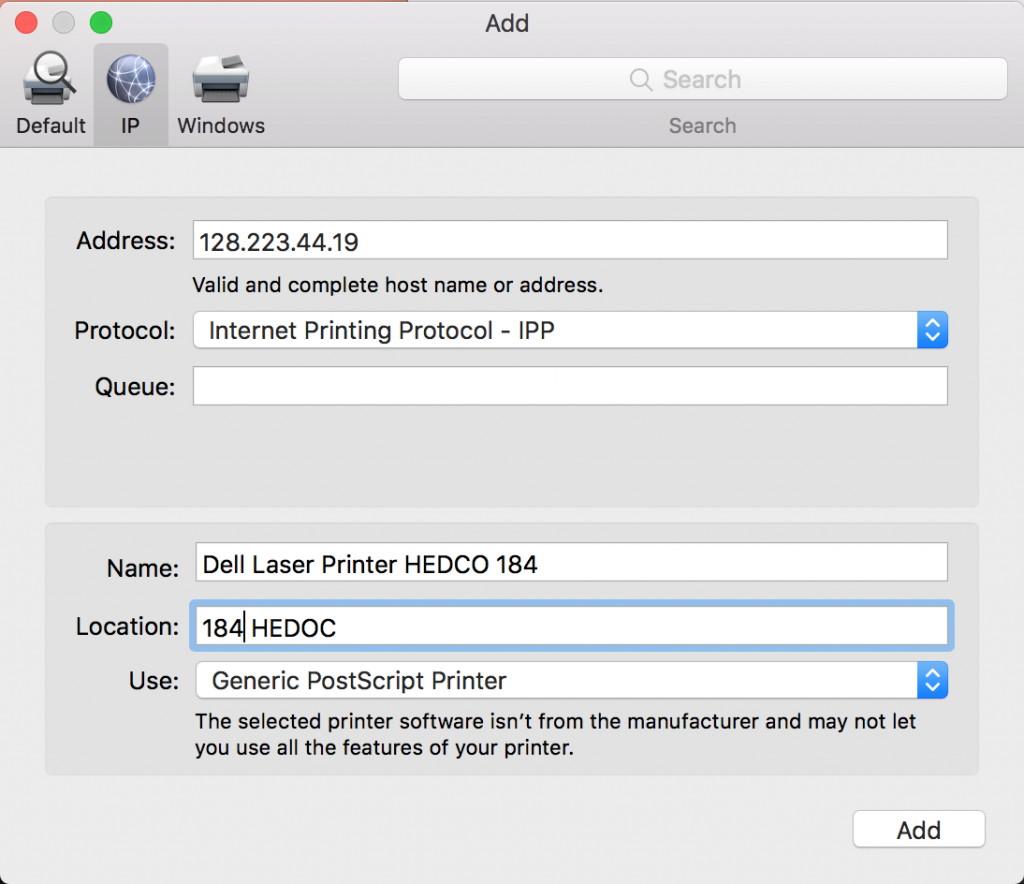
Select the IP tab.
In the Address Bar, type in the IP address. Leave the Queue box blank.
Enter the name you want to use for the printer; in this example the printer type and room number were used for the name.
Choose either the Generic PCL or the Generic Post Script Driver. Click “Add.”
Click “OK” to setting up the printer.
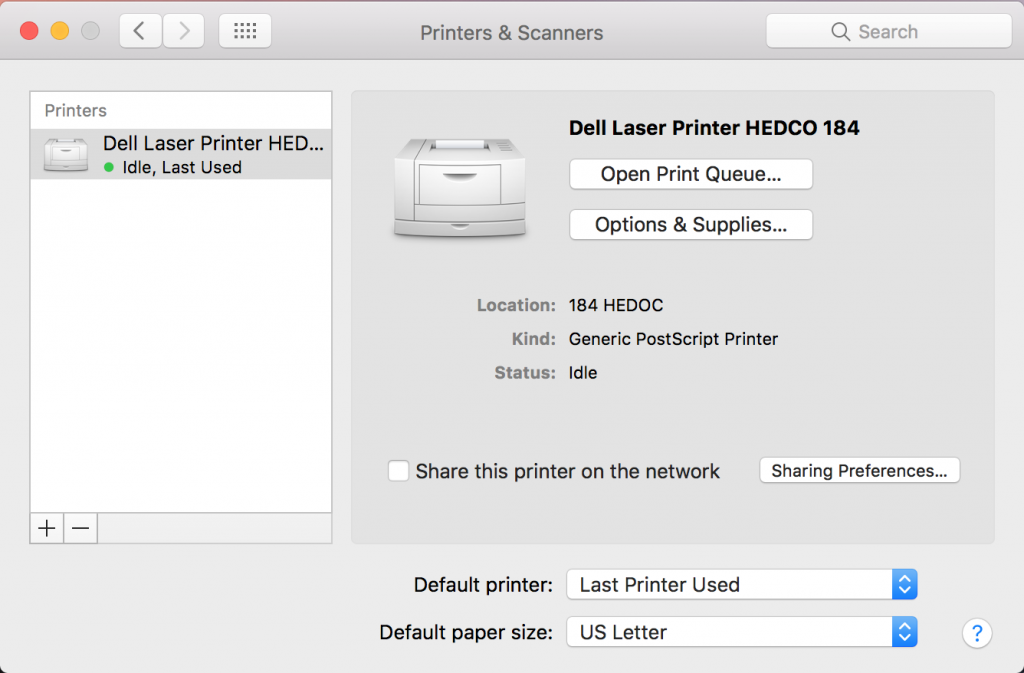
After the printer is added successfully, you will see it in the “Printer & Scanner” window.
